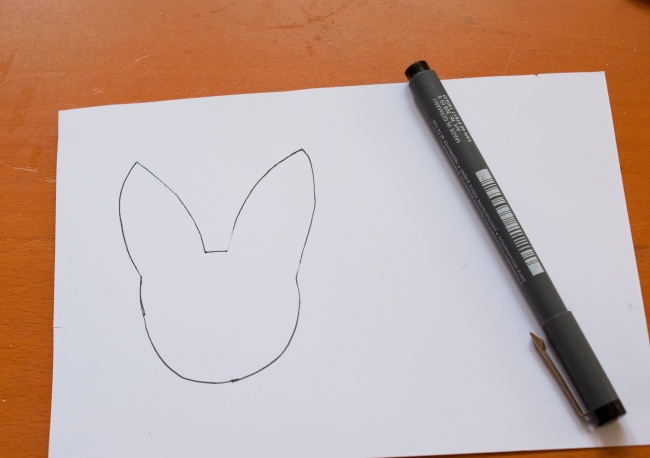
Tutorial time! It has been a while since I did a tutorial, but as it is now spring and Easter is on its way I thought I would show you how to make your own felt bunny brooch 🙂 First of all you need to gather your materials. I’m using my own knitted felt, but you can use craft felt, or even felt an old wool jumper and use that, upcycle winter garments for spring accessories. You also need a thick thread for stitching the brooch together, choose something bright and cheerful, something that stands out from the fabric you have chosen. You will need pins, a thick embroiderers needle, scissors, toy stuffing, card and a pen or pencil. Lastly to help attach the brooch you will need a brooch back. You can get these easily from craft or art material shops. 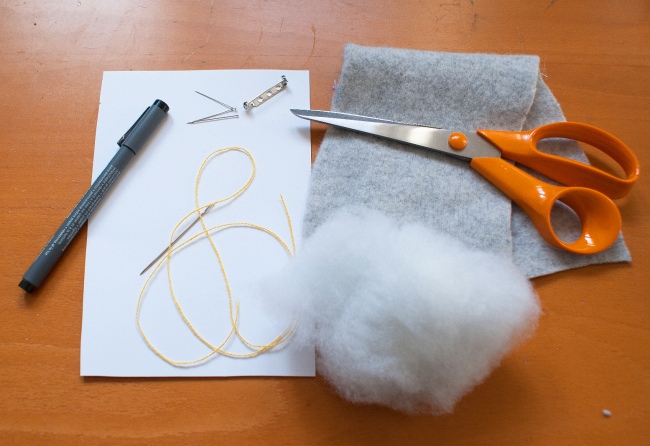 Firstly draw your template on the card, make it as big or small as you like, just remember it has to be pinned to your chest, or bag, so you don’t want it to be so big it won’t stay stable. My template measures approx 9×7 cm (if you would like the template I used just comment below and I can send it to you)
  Then cut out your template (remember use paper scissors not fabric ones to cut the card!) and pin it to the right side of the felt. Make sure you have two layers of felt to pin the template to, with the insides facing in.
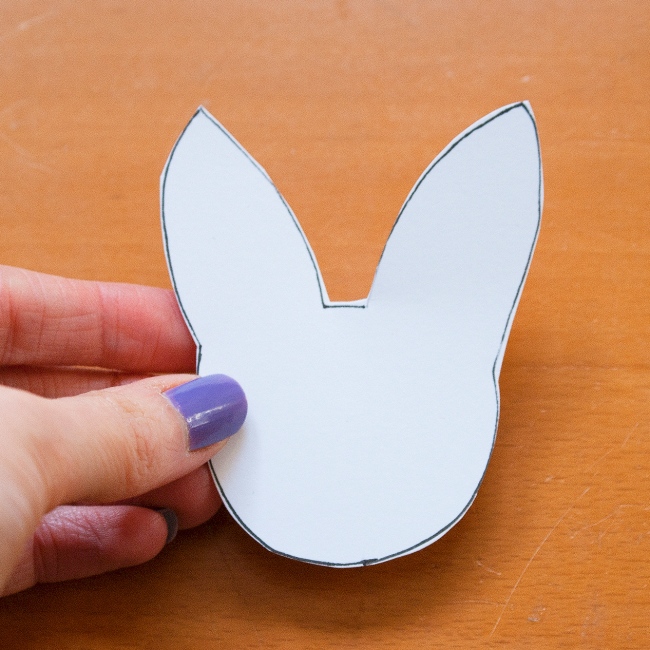
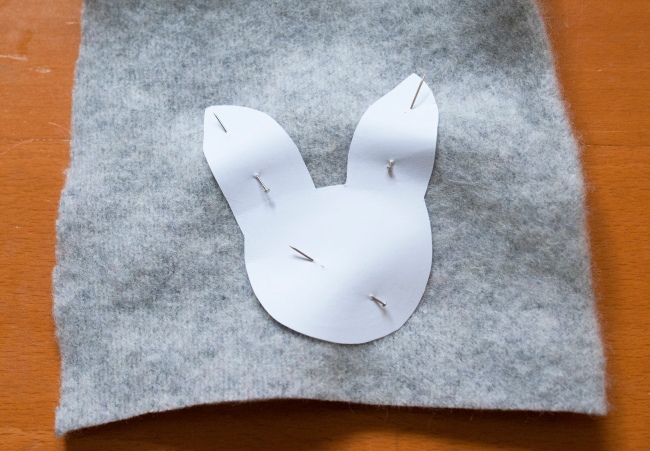 Then cut round your template. Once you have cut it out make sure sure the edges are neat so when you sew them together they don’t look ragged and uneven.
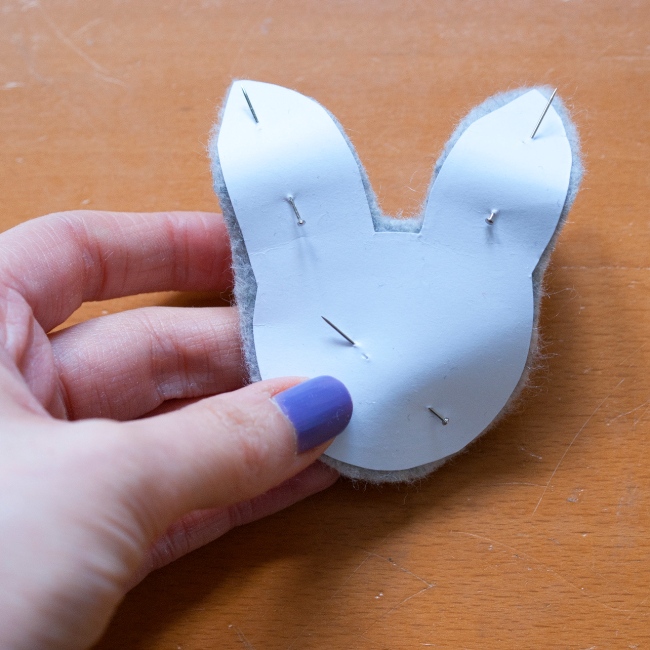
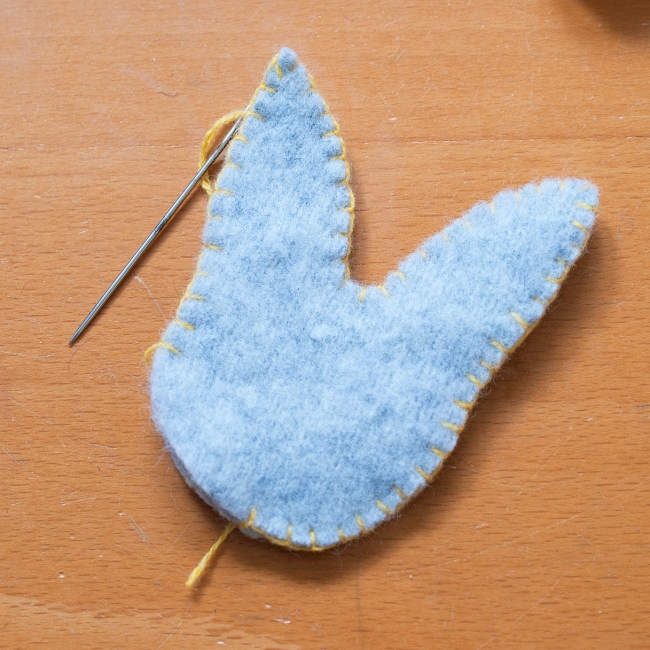
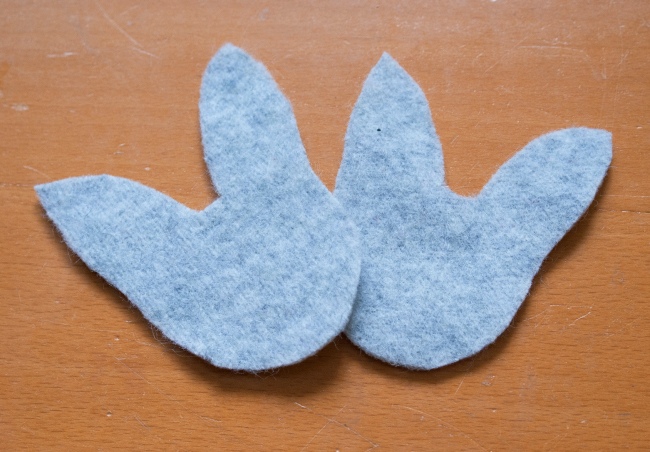 Pin the two pieces of fabric together with right sides out, wrong sides in. Then you can start stitching the brooch together. Using blanket stitch, the photos below show you have to do blanket stitch, and you can also follow this link to a short video showing you how to do this stitch. I started my stitching at the bottom of the head so any messiness caused when completing the stitching could be easily hidden.
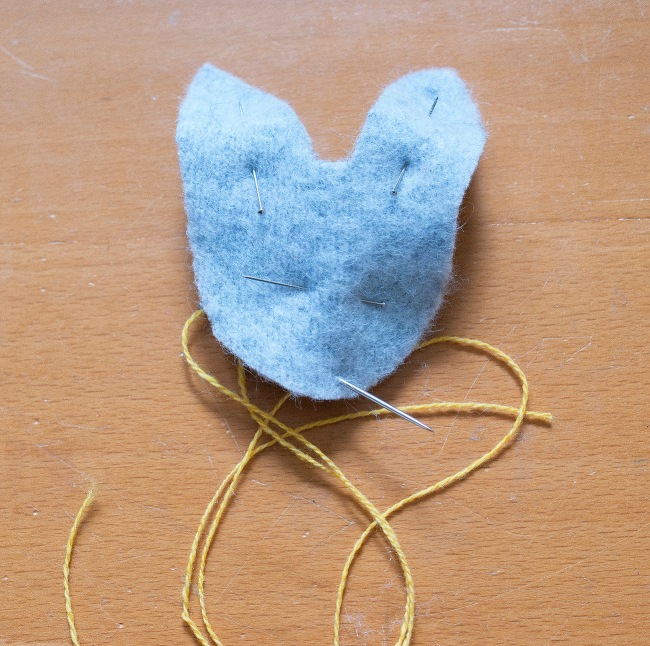
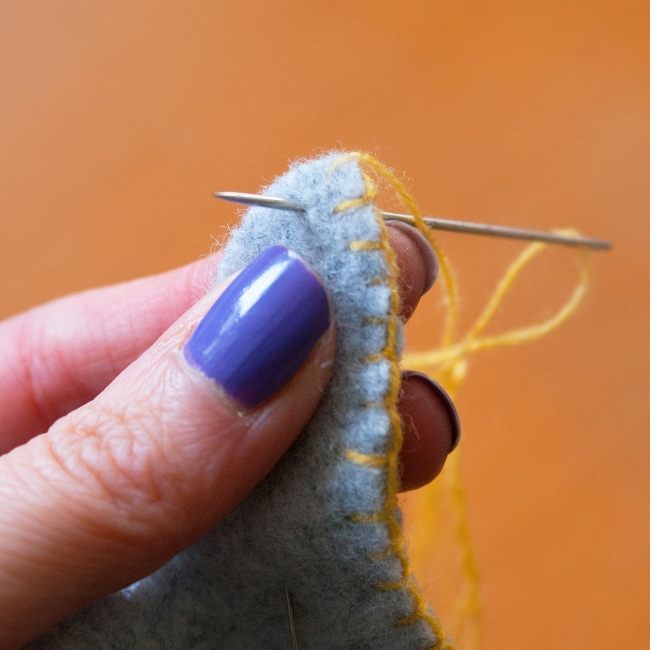
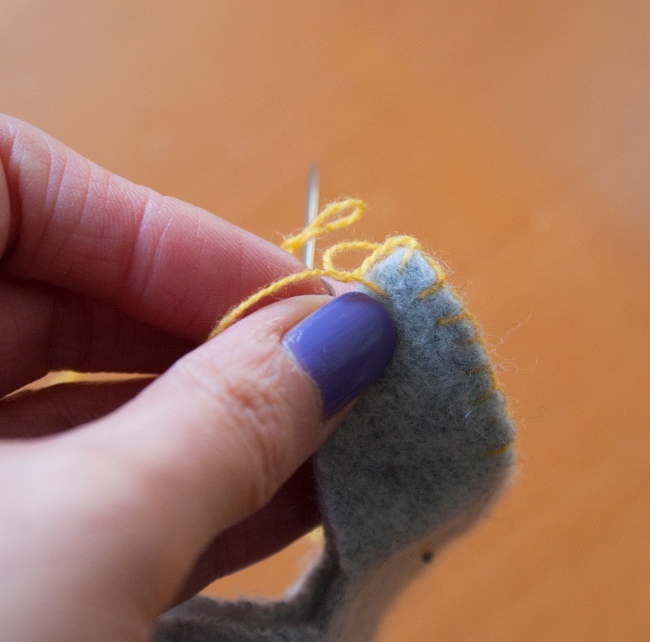
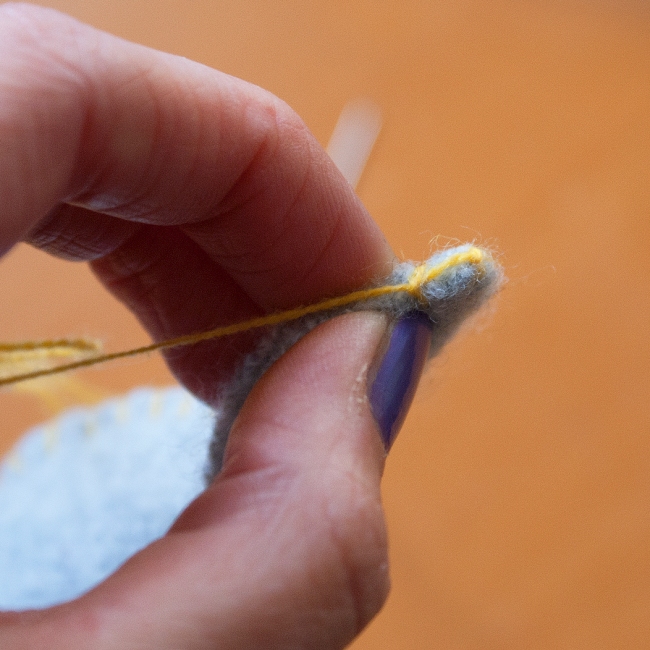 The blanket stitch should be evenly spaced and with even tension to create a neat binding edge like the one pictured below. This will keep the fabric together and stop the stuffing coming out.
 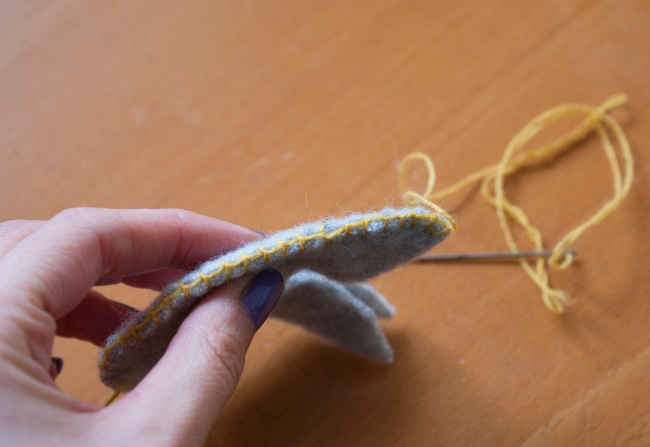 Work your way around the bunny head as neatly as possible. Before you reach where you started your stitching stop to leave a small opening, this is where you will insert the stuffing. You can insert the stuffing into the ears with your fingers, but if it’s too tight use a knitting needle or chopstick, something long and pointy to push the stuffing into the top of the ears.
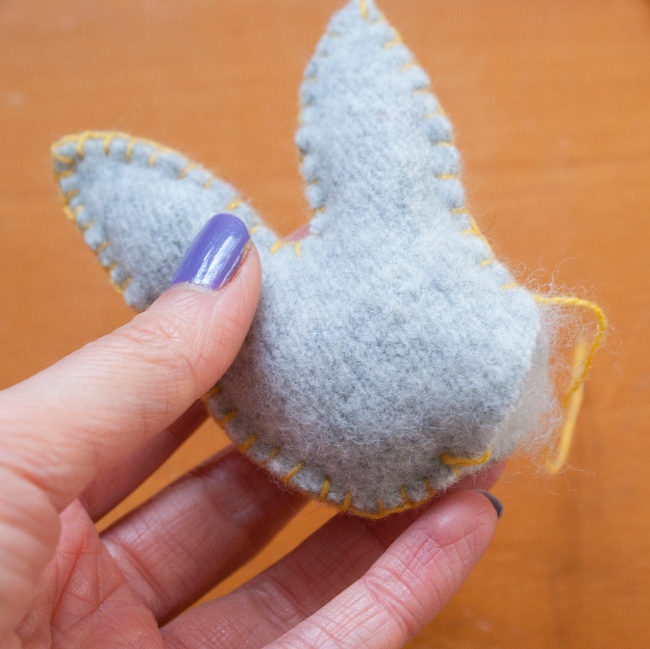 Once stuffed you can now continue to sew up the open edge of the brooch so you are left with something like the image below.
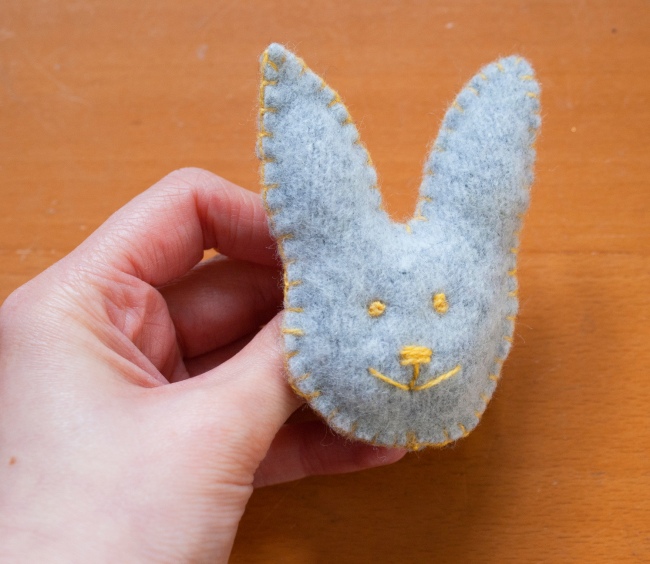
 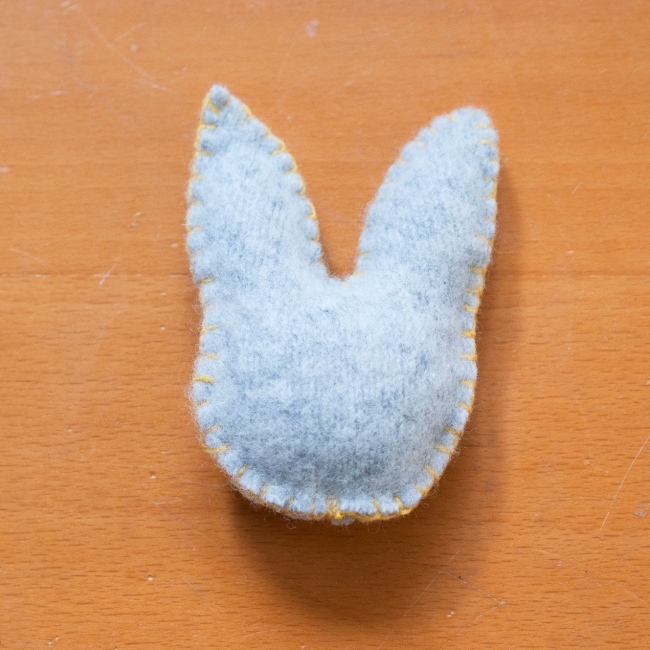 The next step is to sew on the face. I used some basic stitches to create my bunny face, the french knot for the eyes and then some running stitches for the nose and mouth. You can also decorate the ears, or make the face more elaborate, just play around with it, it’s your brooch!
 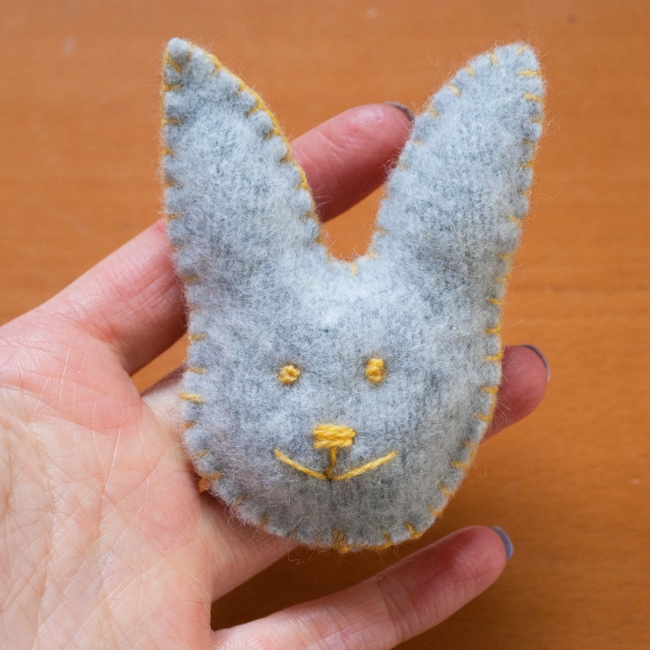 The last step is to sew on the brooch back. You can use the same thread you sewed the brooch together with, or use a simple sewing thread. Just make sure it’s the right way up, sitting far enough up the brooch that it will sit evenly and that your sewing is secure.
 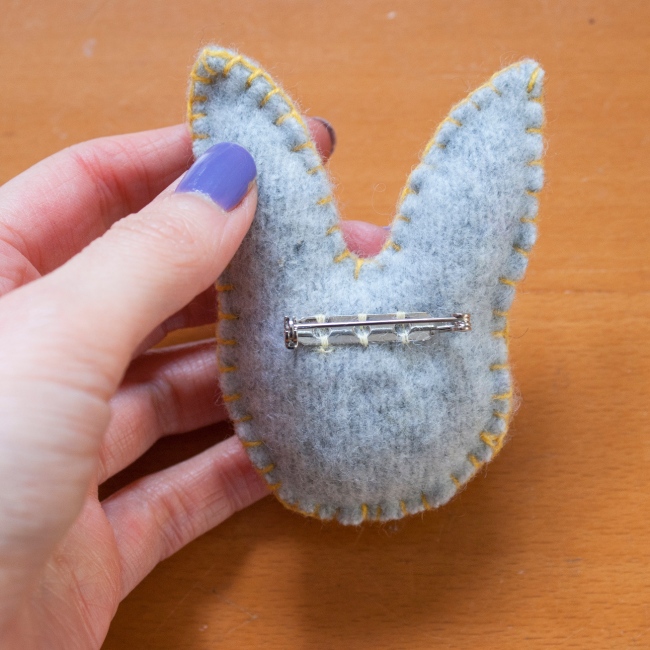 You now have your very own Felt Bunny Brooch! I’m going to put mine on a bag to bring a bit of spring joy everywhere I go 🙂
tutorial
Tutorial: How to make a tassel
I think I have caught the tutorial bug 🙂 I really enjoyed doing the pom pom felt bead one and thought it would be fun to move on to another textile based project. This time I’m going to show you how to make a tassel from yarn. My tassel will be made of wool (like everything else I make) however you can make it from any kind of material, cotton, acrylic etc. what ever you like. This tutorial can be tweaked to make larger or smaller tassels, just increase and of decrease the length of yarn 🙂
Pom pom tassel garland in my kitchen 🙂
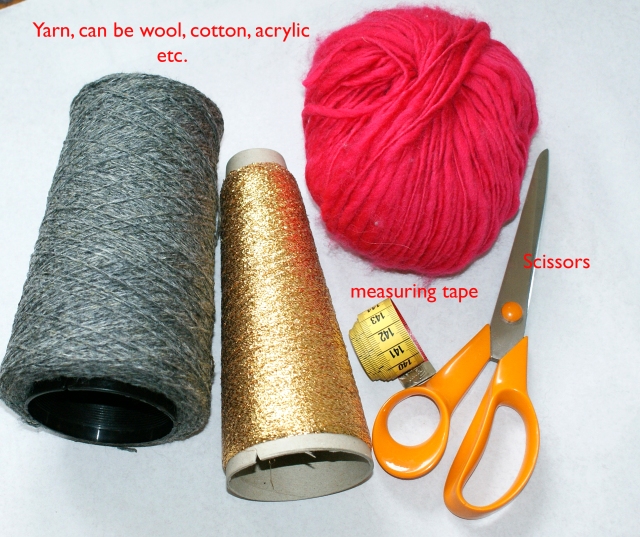
Firstly this is what you need:
Chose any yarn you want, thick or thin, I’m using a 2ply again mixed with a metallic nylon to jazz it up a bit. The tassel I’m making is the same as in the pom pom tassel garland pictured above. The measurements in this tutorial are specifically for a 2ply yarn, you will need less if you are using a thicker yarn, and much more if using thinner.
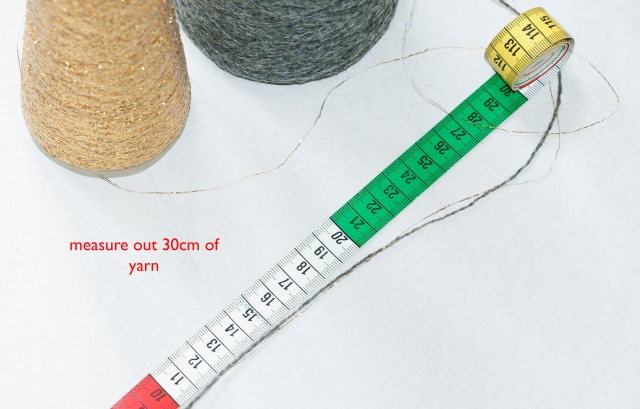
Once you have got all of your equipment you can start measuring out the yarn. I have measure a 30cm length 70 times.
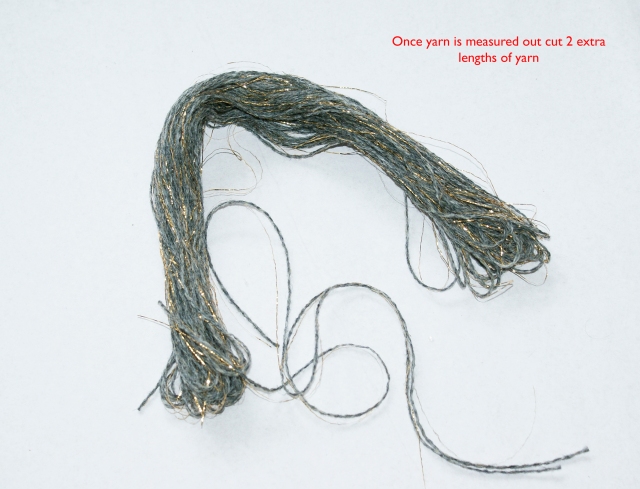
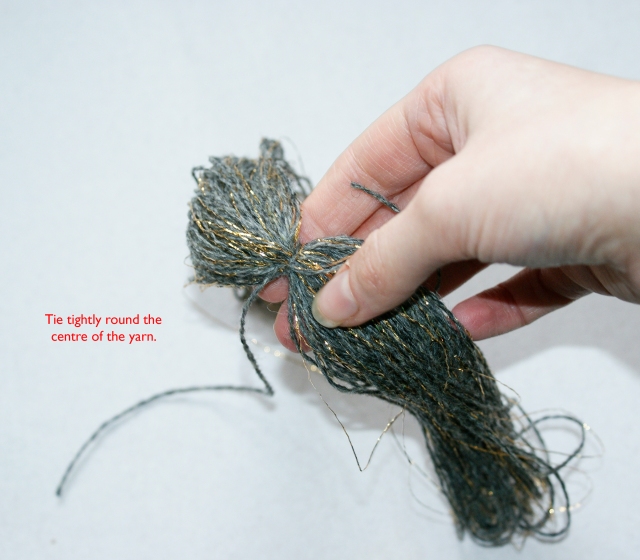
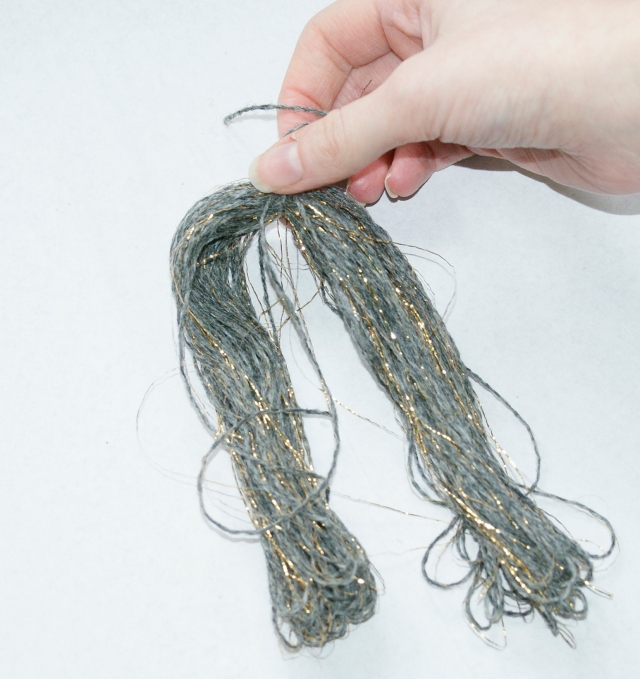
Now your tassel ‘body’ yarn is measured, out measure out two extra lengths , these are to tie the tassel together. Next step is to tie the yarn right in the centre, tie it tightly as this will form the top of the tassel.
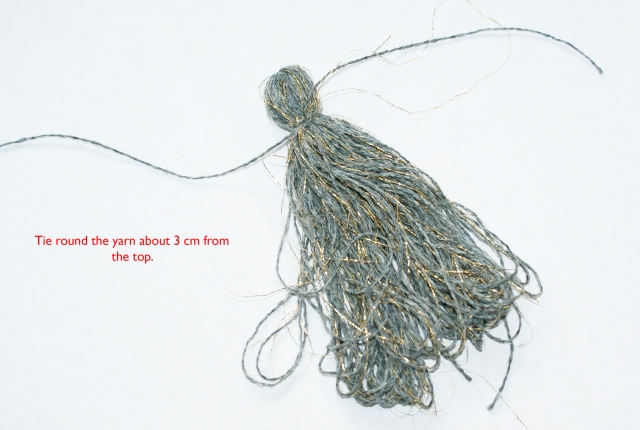
Now it is tied at the top turn the yarn round so the knot you tied is on the inside. You are now going to tie the top part of the tassel. You should now have something that looks like this:
Tie about 3 cm from the top of the yarn, you can increase the distance from the top where you tie if you want it to be larger, and also decrease if you only want a tiny top.
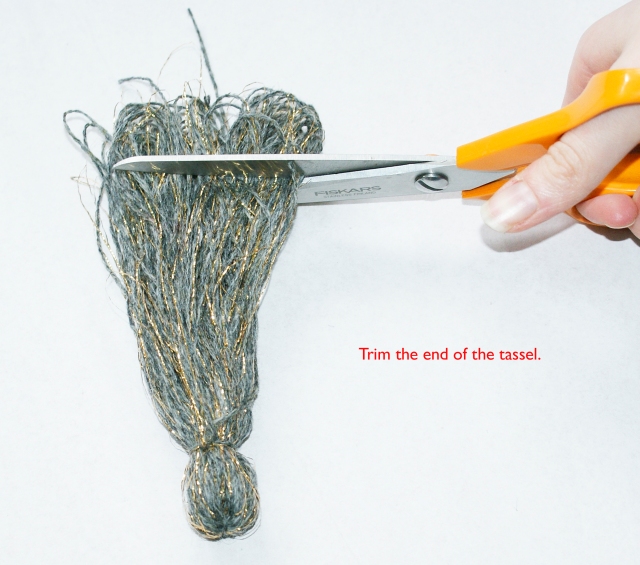
Your tassel is now almost complete. All you need to do now is trip the bottom to get rid of the looped yarn.
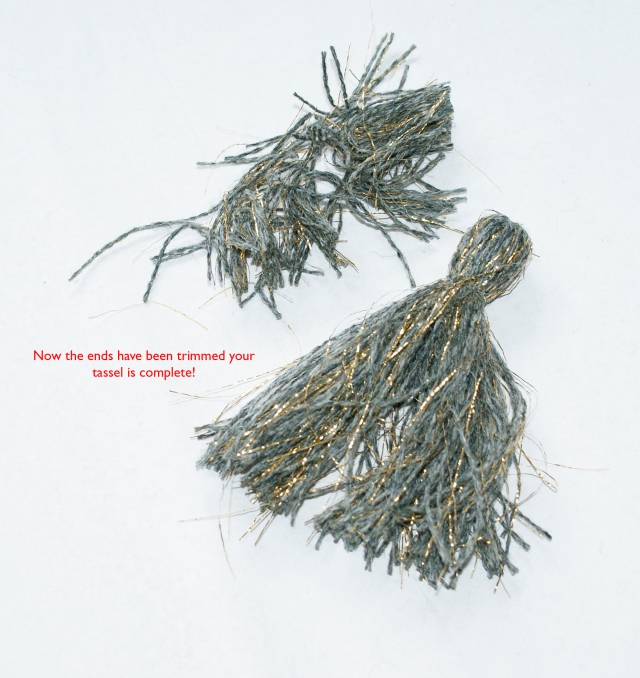
Now shake the the tassel and it’s complete. You can add your tassel to anything: Make a string of them and use them as a garland, add them to the edge of a cushion like a trim. You can also add them to scarves such as the one pictured below.
And of course make up a garland with pom pom felt beads like I did:
Tassels can be used to decorate anything you like. Have fun with them, try out different materials, add beads to them, make huge ones and use them in your interior decoration, make them in to key rings. There are endless possibilities with a tassel 🙂
Tutorial: How to make a pom pom felt bead
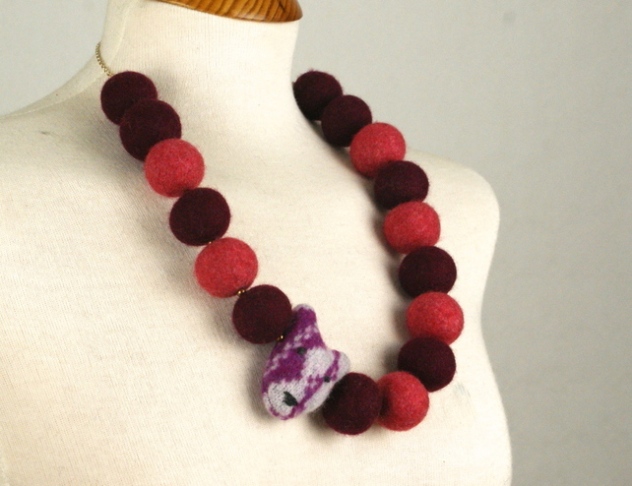
I have been asked by a lot of people how I make the felt beads for my critter necklace, so I decided instead of just saying it’s a felted pom pom, I will show you instead. I will show you how to make a pom pom maker right to the finished bead. These beads are really compact and durable, this is the main reason I like making them this way, but I also love making pom pom’s 😀
These are the beads that inspired this post.
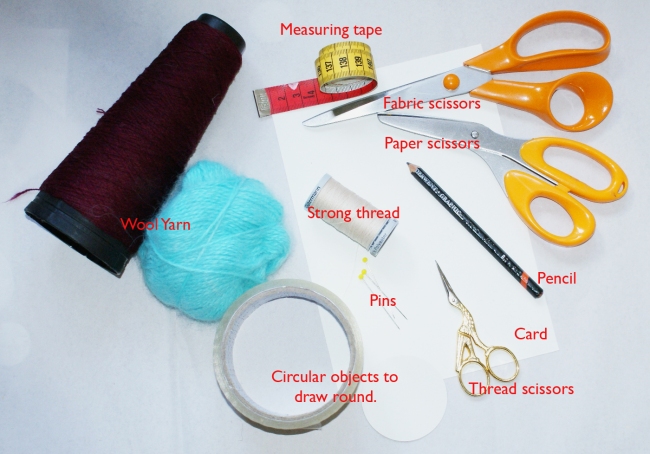
First off you will need to gather your equipment. I usually use my own plastic pom pom makers to make my beads, but in this tutorial I thought I would show you how to make a very simple card pom pom maker.
You don’t necessarily need so many scissors but never use fabric scissors on card or paper as they will be blunted. The larger the circle template you use the bigger the pom pom you will make. You need to make sure that the wool yarn you use is actually 100% wool otherwise it won’t felt. I use a yarn that felts really well, you can play around with different kinds before you find the one you really love. As for the thread, this is to tie round the middle of the pom pom to hold it together so it needs to be strong enough for you to pull really tight and tie, you can double up a thinner thread to use, I am using an upholstery thread. You also need a washing machine (not pictured, couldn’t fit it in 😛 )
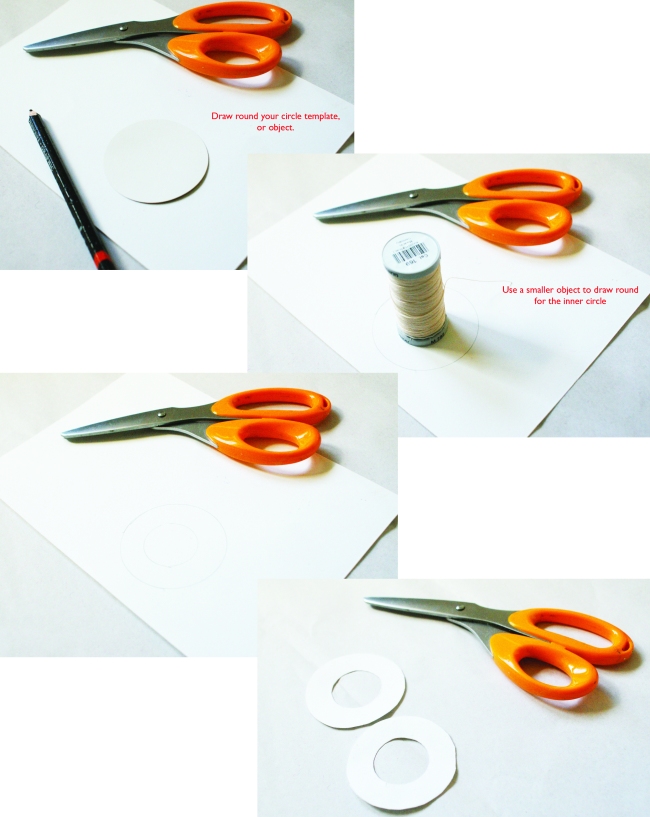
The first step is to make the pom pom template. I have put this together as an easy step by step photo guide. It is straight forward, and you can make your pom pom maker as big or as small as you want, smaller ones can be a bit fiddly. If you make your pom pom maker large you will of course need more yarn to cover it and if smaller you need less.
My template for the outer circle is 5.5 cm diameter and all yarn measurements are made for a pom pom this big.
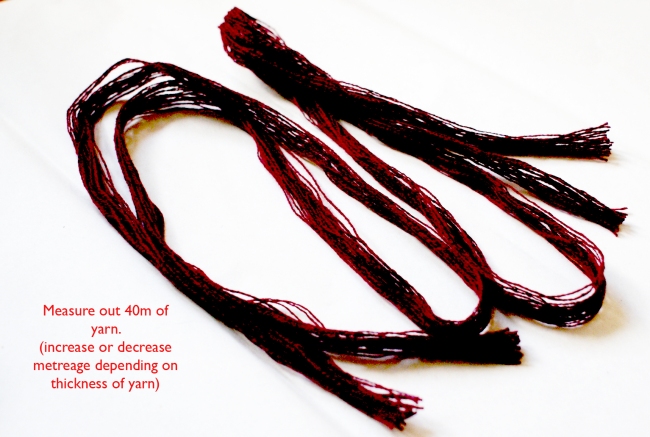
Once your pom pom maker is complete you can measure out your yarn. Use your measuring tape and measure out a metre of your wool yarn. For this size pom pom maker you will need between 30-40 metres. When winding it on the maker, if it feels to thin add more, and if to bulky use less. The yarn I’m using is a 2 ply yarn.
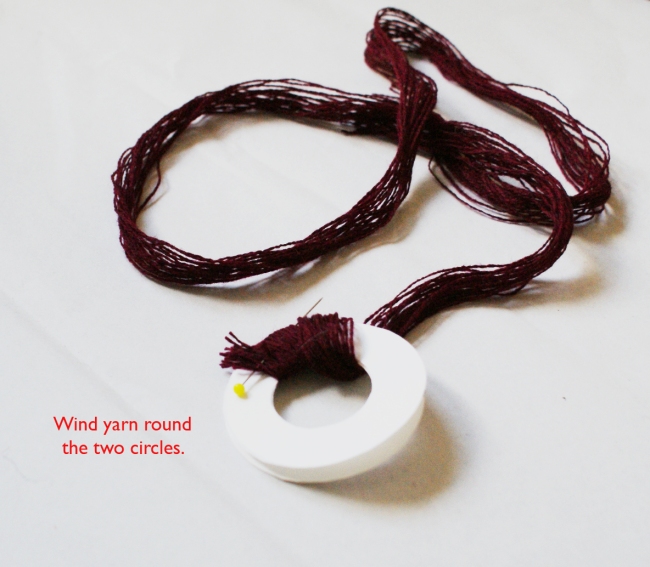
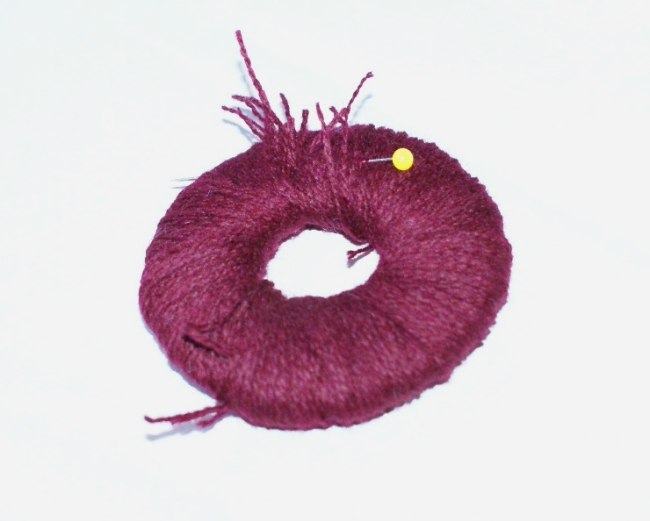
Once you have your yarn measured you can start winding it on to your pom pom maker. Keep the winding as even as possible, you want the same amount of yarn the whole way round so the pom pom is balanced. You can anchor the end of the yarn with a pin, so it stays in place while you wind.
The pom pom maker should be covered evenly and tightly. If there is any of the card showing you have to add more yarn, or wind your yarn more evenly.
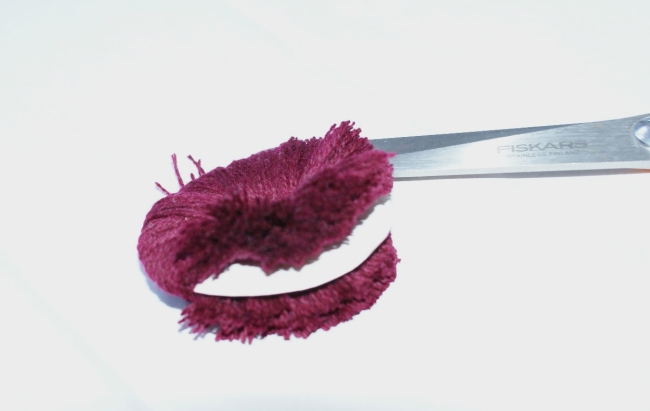
Now the pom pom maker is covered in your yarn you can cut round the outside edge, get your scissors in between the card disks so you are cutting right in the middle of each side of the pom pom, this makes each side of the pom pom as even as possible.
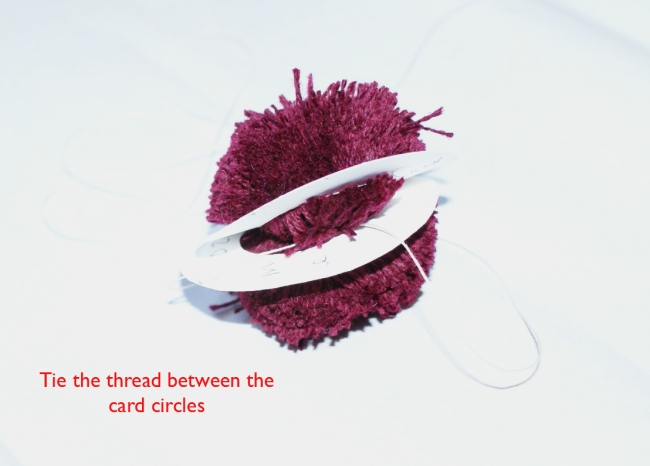
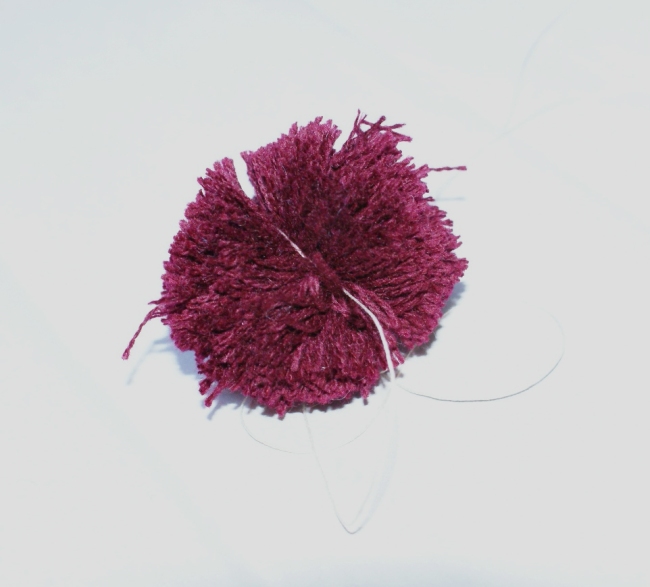
Once cut take your thread and cut a length that you can tie round the pom pom easily, you need enough that you can grab the thread and pull tight. put the tread in between the card disks and pull tight and tie, wrap it round the pom pom several times so it is really secure. Once this is done pull the disks off, you can cut it off or keep it in tact.
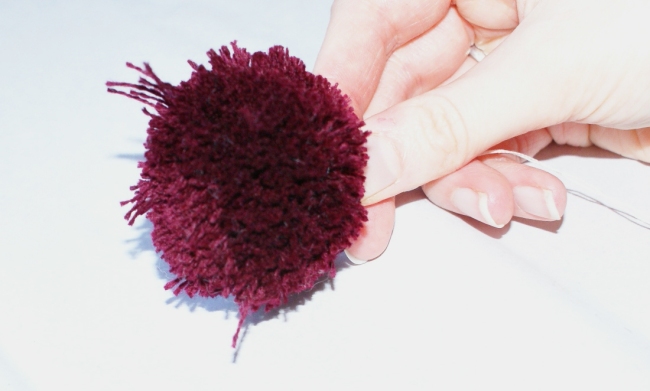
Now take the the string and and hit the pom pom against your table, or wall, any hard surface. You do this to even out the yarn, keep doing it until your pom pom looks round. It will have a lot of stray bits, but don’t worry about them, they can be trimmed. Your pom pom should look a bit like this:
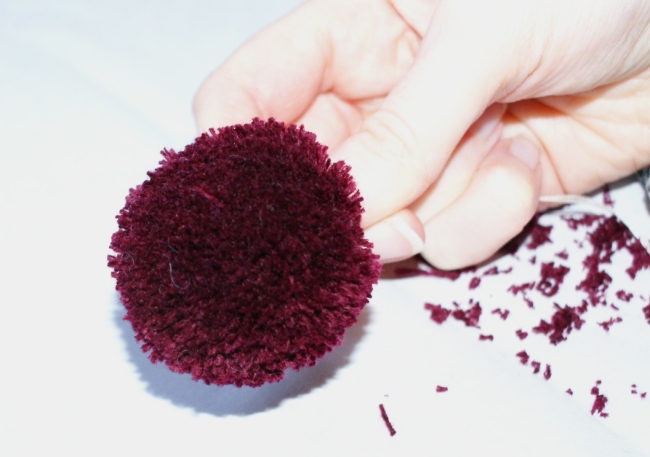
You now need to trim it. You can do this over the bin to save on clearing up later!
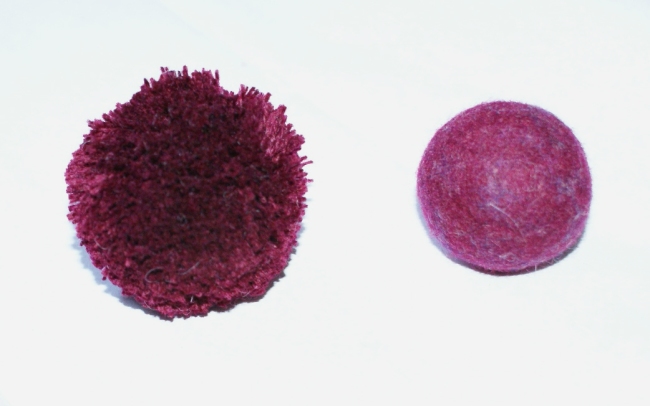
Now your pom pom is trimmed and looks round it is ready to felt! You now need to go to your washing machine and choose a setting 60°C or higher. I recommend washing the pom pom with rough fabrics such as towels to get extra friction, although don’t do this if you the colour in your yarn runs like crazy (don’t wash colours with whites, typical washing instructions 🙂 ) Put in some clothes detergent. You need the soap as it’s the friction, soap and heat that felt the pom pom. Sometimes the pom pom doesn’t felt completely first time so may need a couple of washes. I usually make a large batch of pom pom’s then felt them together with towels to be eco friendly 🙂
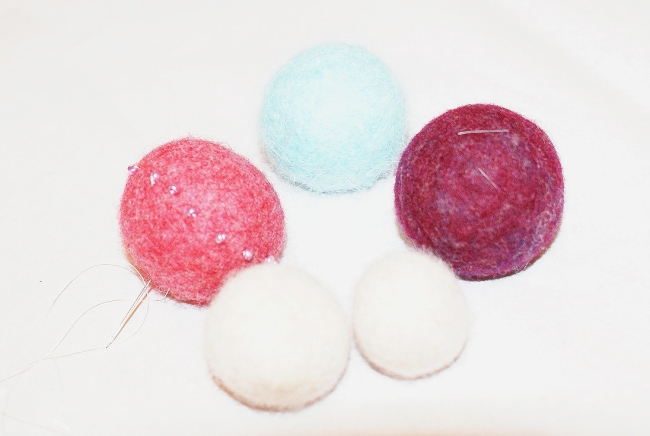
You should end up with your pom pom looking like this:
You can do many colours in your pom pom so it’s a multicoloured bead, and you can also embellish your bead with glass beads or sequins, add embroidery, what ever you want.
You can make your beads into necklaces, sew them into coasters, or string them together to make garlands, or curtain tie backs (I am currently making some for my curtains, will blog about them once complete!)
I hope you liked this tutorial, it’s my first one and i had fun making it. I hope you have fun making your own pom pom felt beads. I will be doing another tutorial in a few weeks 🙂


