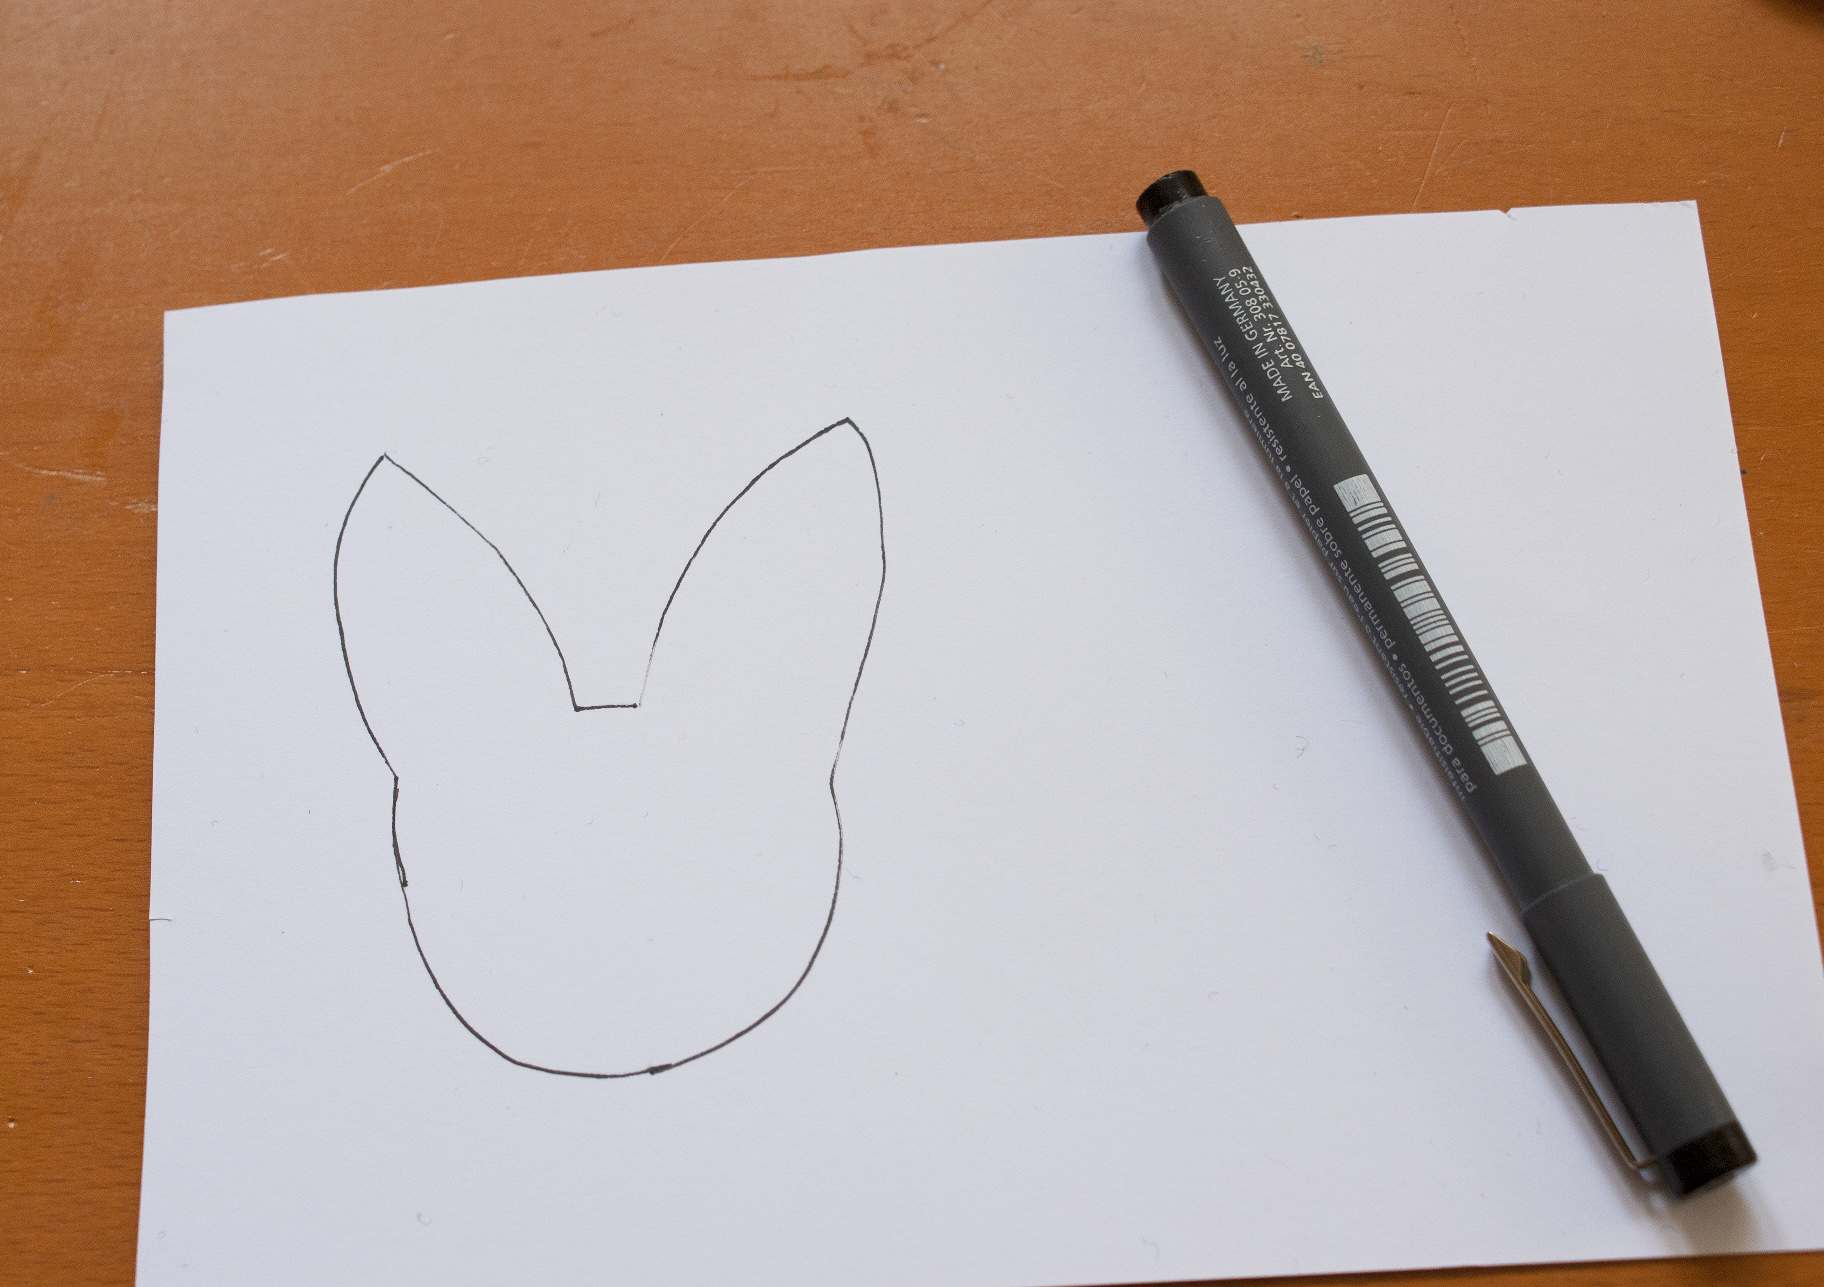
Tutorial time! It has been a while since I did a tutorial, but as it is now spring and Easter is on its way I thought I would show you how to make your own felt bunny brooch 🙂 First of all you need to gather your materials. I’m using my own knitted felt, but you can use craft felt, or even felt an old wool jumper and use that, upcycle winter garments for spring accessories. You also need a thick thread for stitching the brooch together, choose something bright and cheerful, something that stands out from the fabric you have chosen. You will need pins, a thick embroiderers needle, scissors, toy stuffing, card and a pen or pencil. Lastly to help attach the brooch you will need a brooch back. You can get these easily from craft or art material shops.  Firstly draw your template on the card, make it as big or small as you like, just remember it has to be pinned to your chest, or bag, so you don’t want it to be so big it won’t stay stable. My template measures approx 9×7 cm (if you would like the template I used just comment below and I can send it to you)
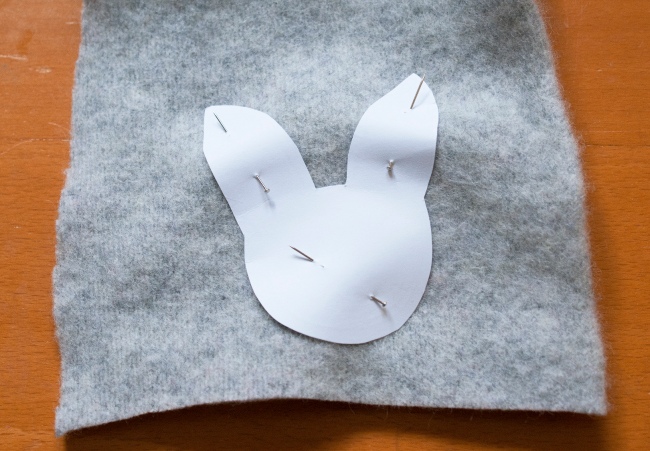
 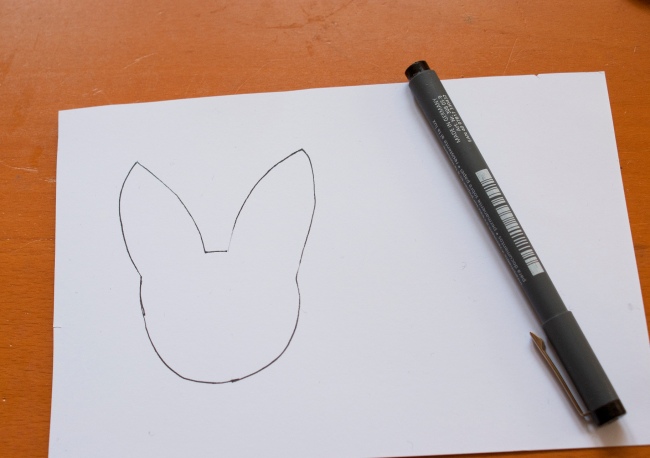 Then cut out your template (remember use paper scissors not fabric ones to cut the card!) and pin it to the right side of the felt. Make sure you have two layers of felt to pin the template to, with the insides facing in.
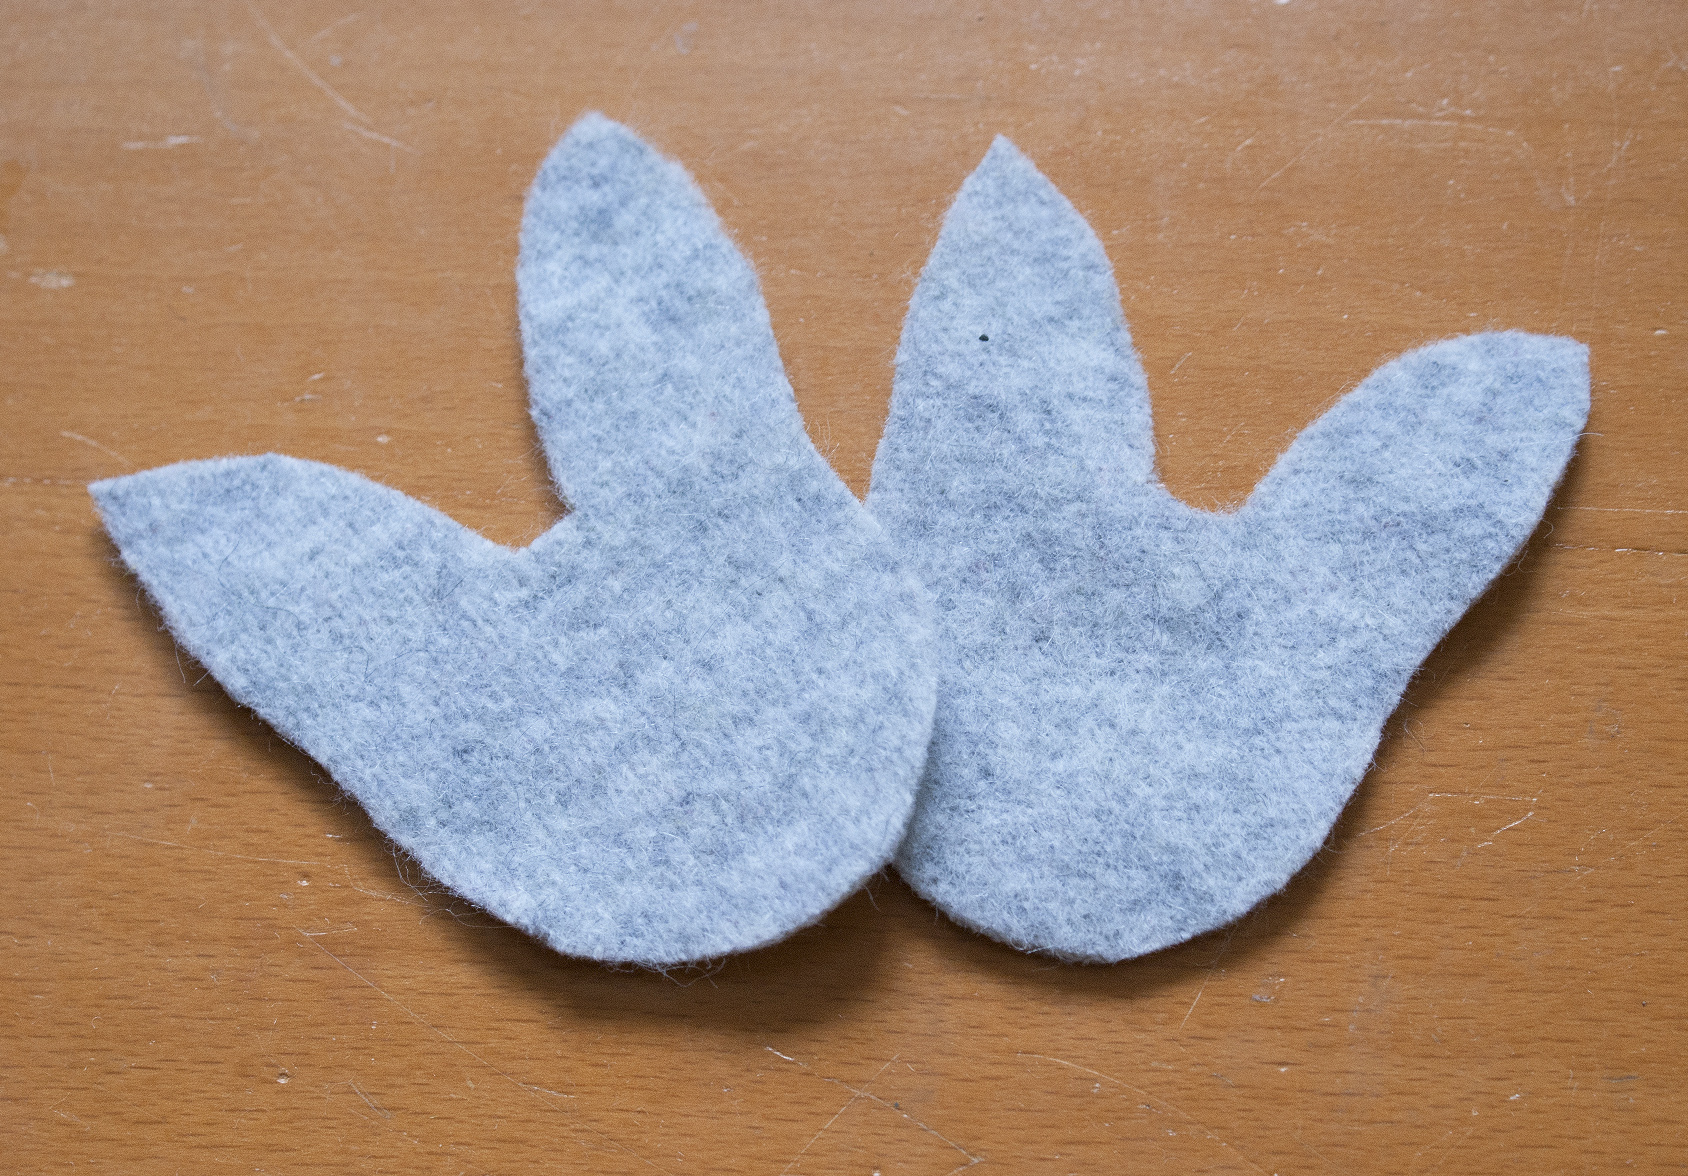
 Then cut round your template. Once you have cut it out make sure sure the edges are neat so when you sew them together they don’t look ragged and uneven.
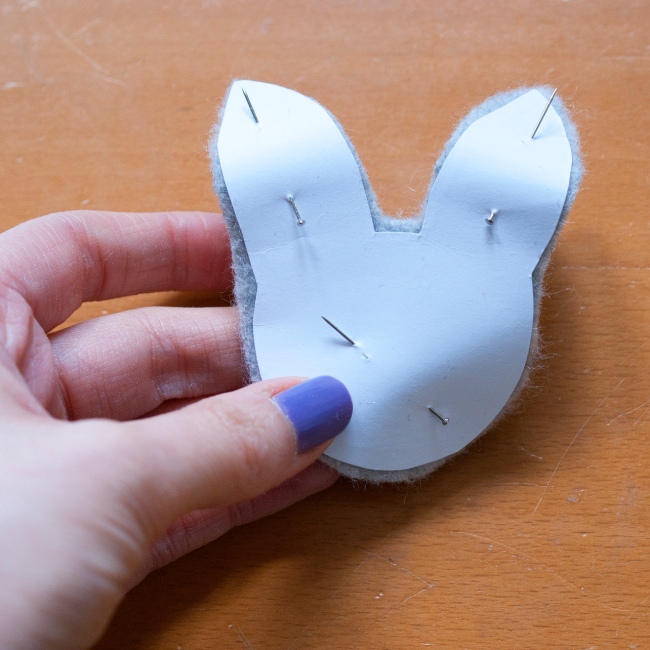
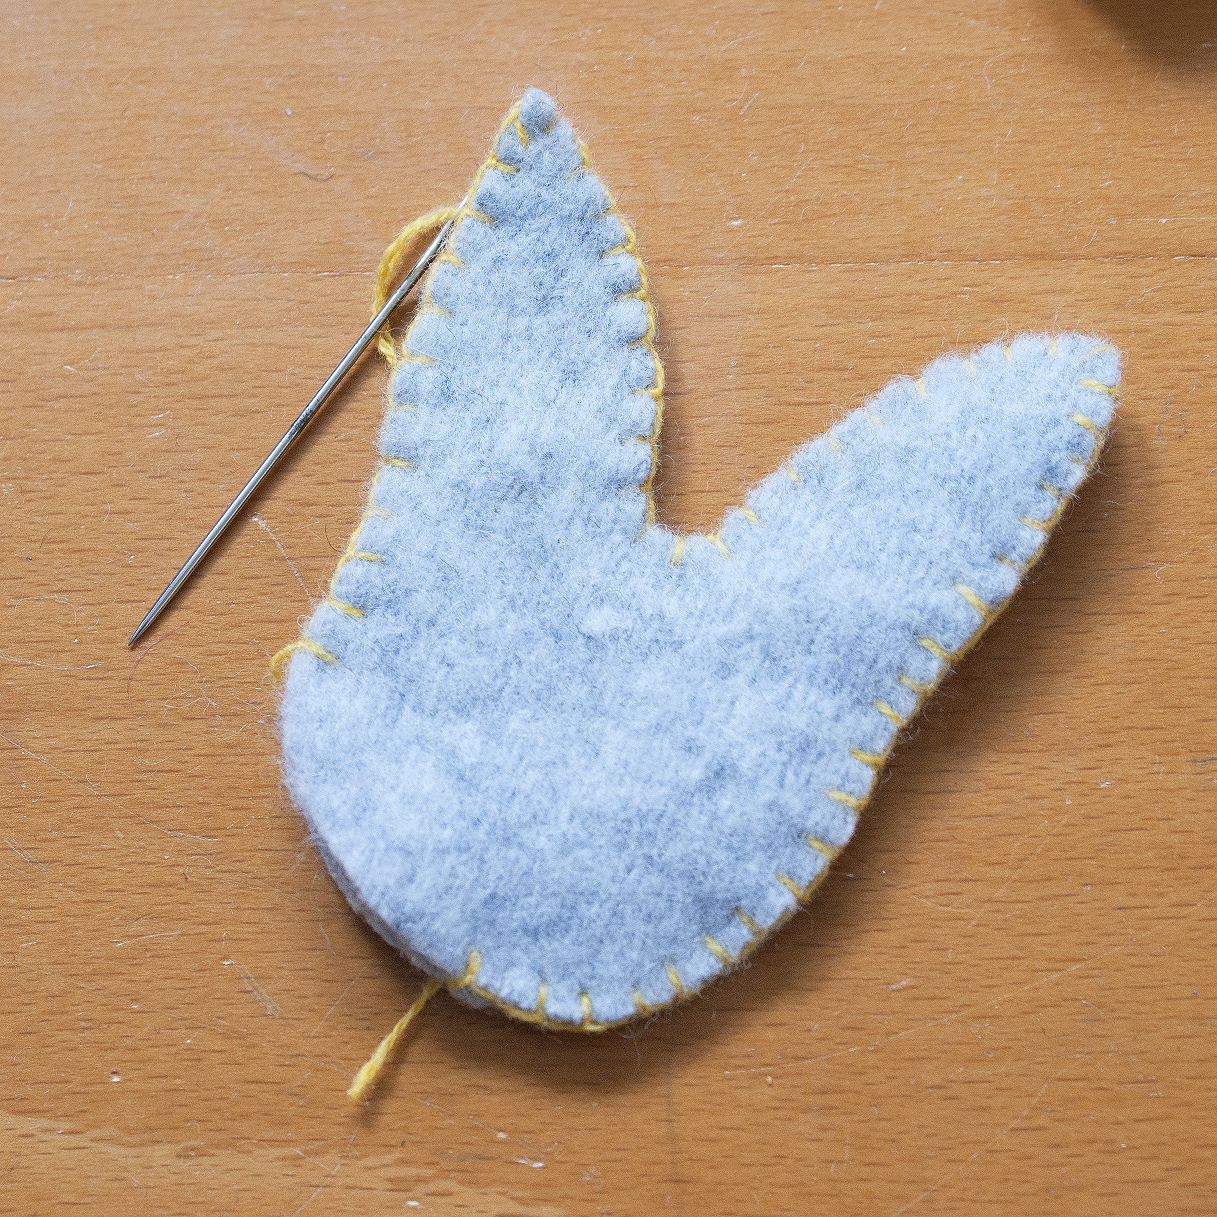
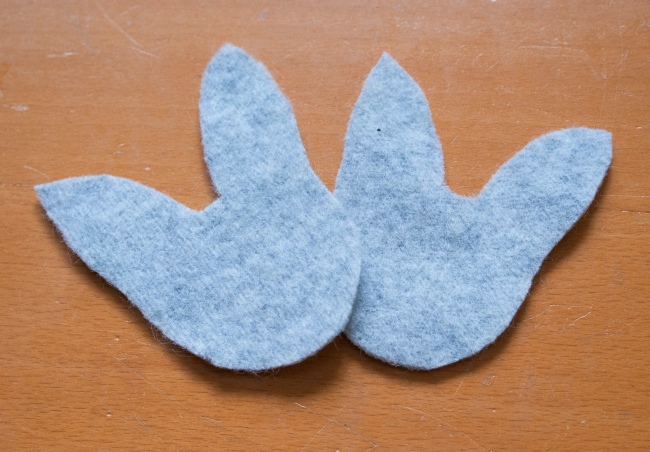 Pin the two pieces of fabric together with right sides out, wrong sides in. Then you can start stitching the brooch together. Using blanket stitch, the photos below show you have to do blanket stitch, and you can also follow this link to a short video showing you how to do this stitch. I started my stitching at the bottom of the head so any messiness caused when completing the stitching could be easily hidden.
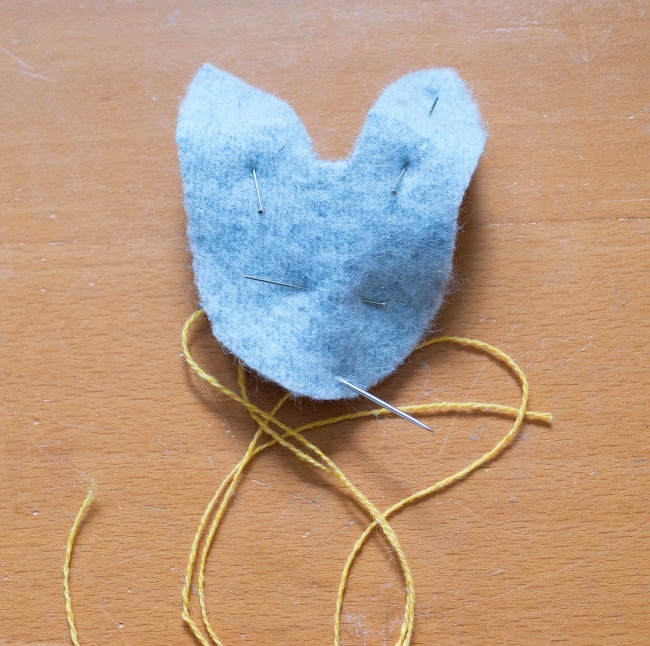

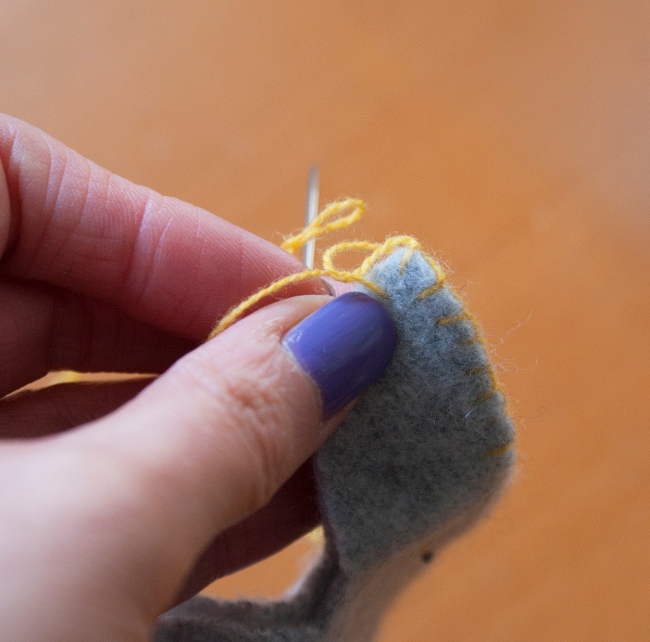
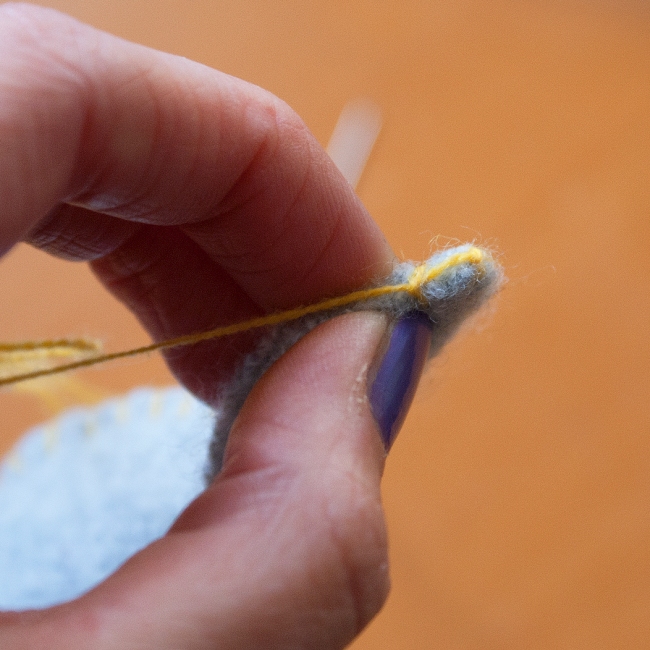 The blanket stitch should be evenly spaced and with even tension to create a neat binding edge like the one pictured below. This will keep the fabric together and stop the stuffing coming out.
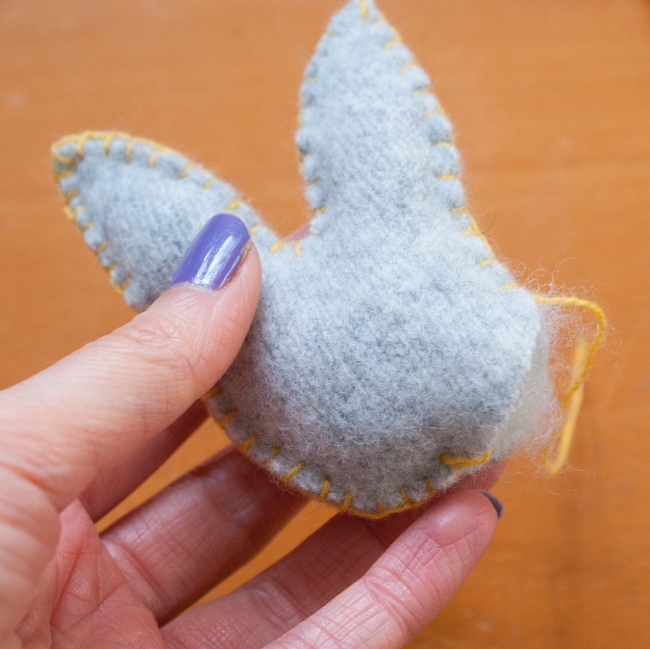
 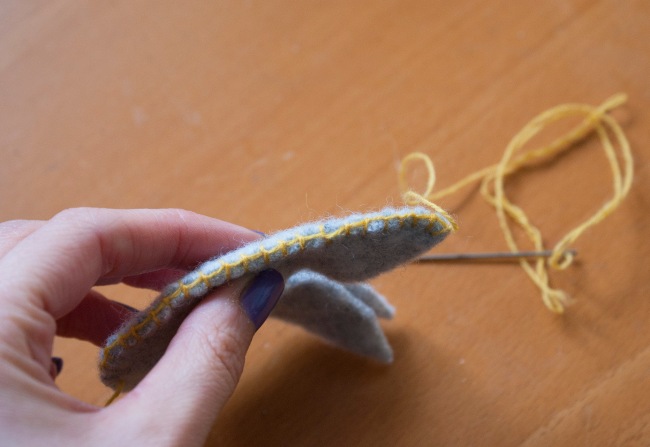 Work your way around the bunny head as neatly as possible. Before you reach where you started your stitching stop to leave a small opening, this is where you will insert the stuffing. You can insert the stuffing into the ears with your fingers, but if it’s too tight use a knitting needle or chopstick, something long and pointy to push the stuffing into the top of the ears.
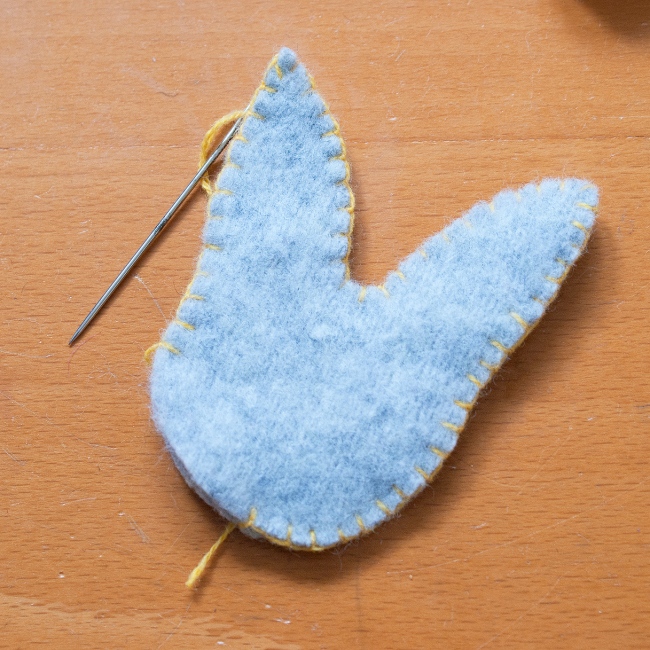
 Once stuffed you can now continue to sew up the open edge of the brooch so you are left with something like the image below.
 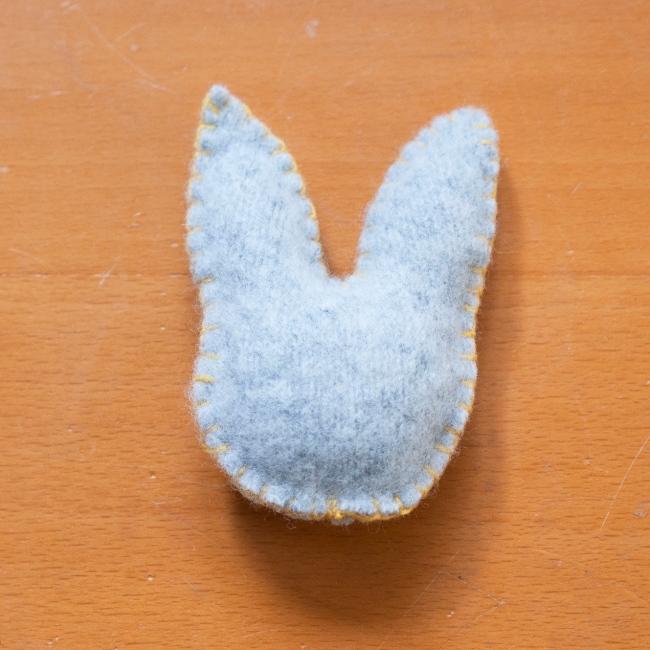 The next step is to sew on the face. I used some basic stitches to create my bunny face, the french knot for the eyes and then some running stitches for the nose and mouth. You can also decorate the ears, or make the face more elaborate, just play around with it, it’s your brooch!
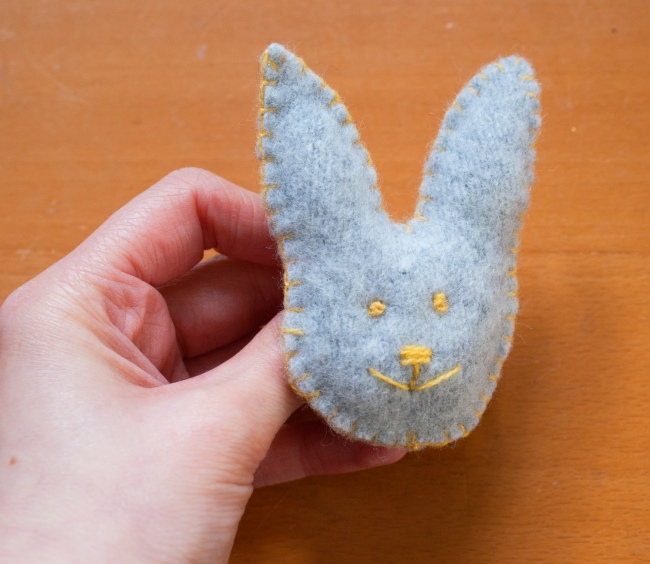
 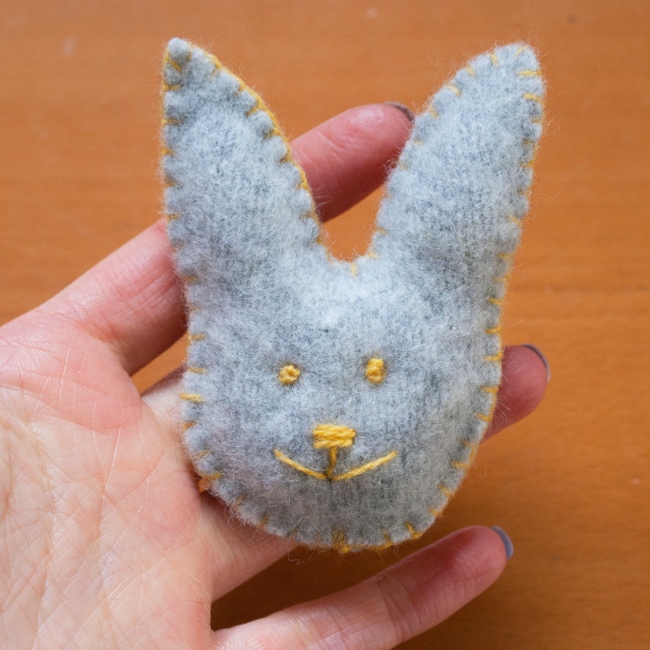 The last step is to sew on the brooch back. You can use the same thread you sewed the brooch together with, or use a simple sewing thread. Just make sure it’s the right way up, sitting far enough up the brooch that it will sit evenly and that your sewing is secure.
 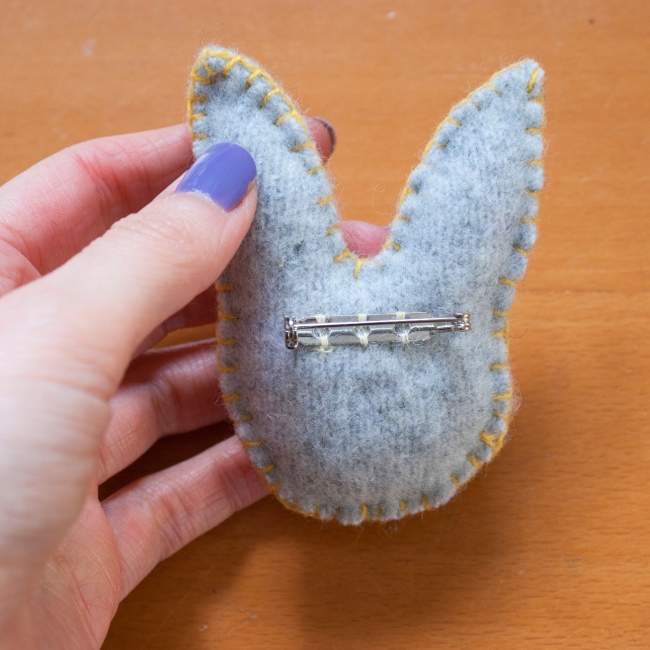 You now have your very own Felt Bunny Brooch! I’m going to put mine on a bag to bring a bit of spring joy everywhere I go 🙂